
How to Point a Domain at Your VPS
Turn an IP address into a real domain name with one DNS record. Takes about five minutes, plus waiting.
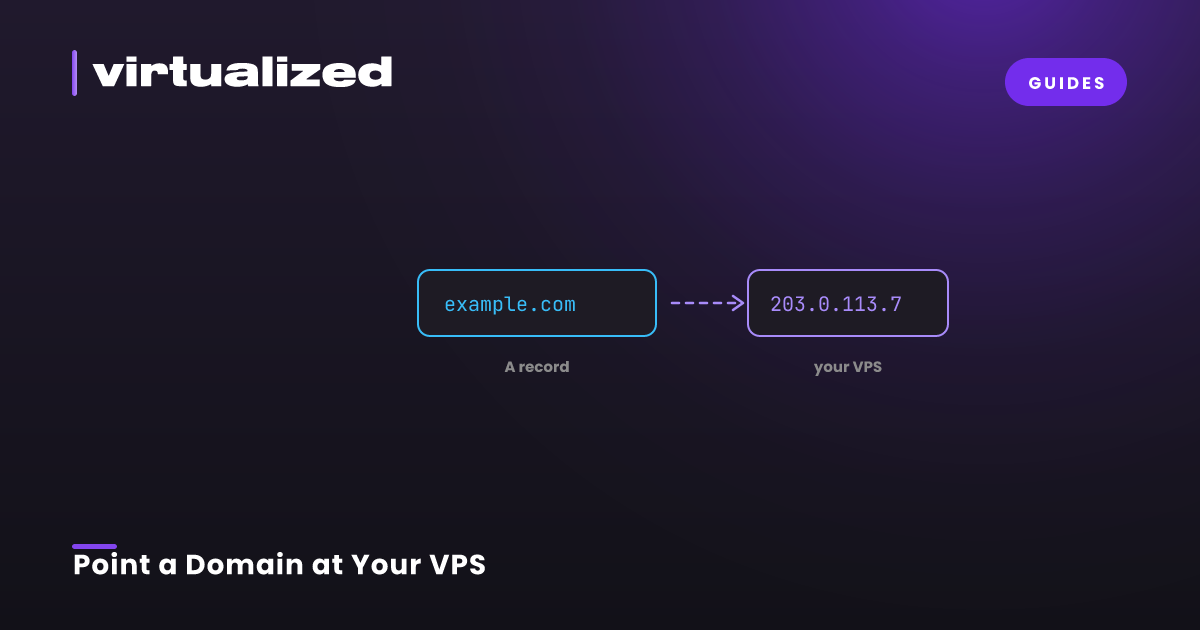
Right now your server answers to a string of numbers. Pointing a domain at it is one DNS record, and it is a lot simpler than most people expect.
Before you start
You need the IP address of your VPS, which is on your service page in the client portal, and access to wherever your domain's DNS is managed. That is usually the registrar you bought it from, such as Namecheap, Cloudflare, GoDaddy, or Porkbun, but if you have moved DNS elsewhere, use that provider instead.
Step 1: Find your DNS settings
Log into your registrar and find the DNS management area for your domain. It goes by different names depending on the provider: DNS, DNS Records, Advanced DNS, or Manage Zone. They all lead to the same list of records.
Step 2: Add an A record for the root domain
An A record maps a name to an IPv4 address. That is the whole job.
Create a new record with these values:
- Type: A
- Name or Host:
@ - Value or Points to: your server's IP address
- TTL: automatic, or 3600
The @ symbol means the domain itself: example.com with nothing in front of it.
Step 3: Add a second record for www
Most visitors will type www.example.com at some point, and it will not work unless you tell DNS what to do with it. Add a second record:
- Type: A
- Name or Host:
www - Value: the same IP address
- TTL: automatic, or 3600
Some providers prefer a CNAME pointing www at @ instead. Either approach works. An A record is simpler and harder to get wrong.
Step 4: Add records for anything else you need
Every subdomain is its own record. If you want panel.example.com to reach the same server, add another A record with the name panel and the same IP.
You do not need to add anything for the port. example.com:25565 will reach port 25565 on that IP automatically once the A record exists.
Step 5: Open the port in the Firewall Manager
DNS gets visitors to your IP. It does not get them through the firewall.
In the client portal, open Services, then Firewall Manager, select your IP, and add a rule for whatever your service uses: port 80 and 443 for a website, or your game server's port. Set the protocol, tick Whitelist, and create the rule.
Step 6: Wait
DNS changes are not instant. Resolvers all over the internet cache the old answer for as long as the previous TTL told them to, so the change spreads gradually.
In practice a new record is usually live within 5 to 30 minutes. A changed record can take up to 24 to 48 hours to reach everywhere, though it is rarely that long anymore.
Check whether it has taken effect from your own machine:
dig example.com +short
On Windows:
nslookup example.com
If it returns your server's IP, DNS is done.
If it is not working
You still see the old IP, or nothing. Your computer or router is caching the previous answer. Flush it with ipconfig /flushdns on Windows or sudo dscacheutil -flushcache on macOS, or check from your phone on mobile data, which uses different resolvers entirely.
The domain resolves but the page will not load. DNS is fine and the problem is further down. Check that the firewall rule exists for the right port and IP, and that your web server is actually running on the server.
Nothing has changed after 48 hours. Your domain's nameservers probably point somewhere other than where you added the record. Check the Nameservers setting at your registrar and make sure it matches the provider whose DNS panel you edited.
What next
With a domain in place, the obvious next step is a real site behind it. Setting up Nginx also covers getting a free HTTPS certificate for the domain you just pointed here.